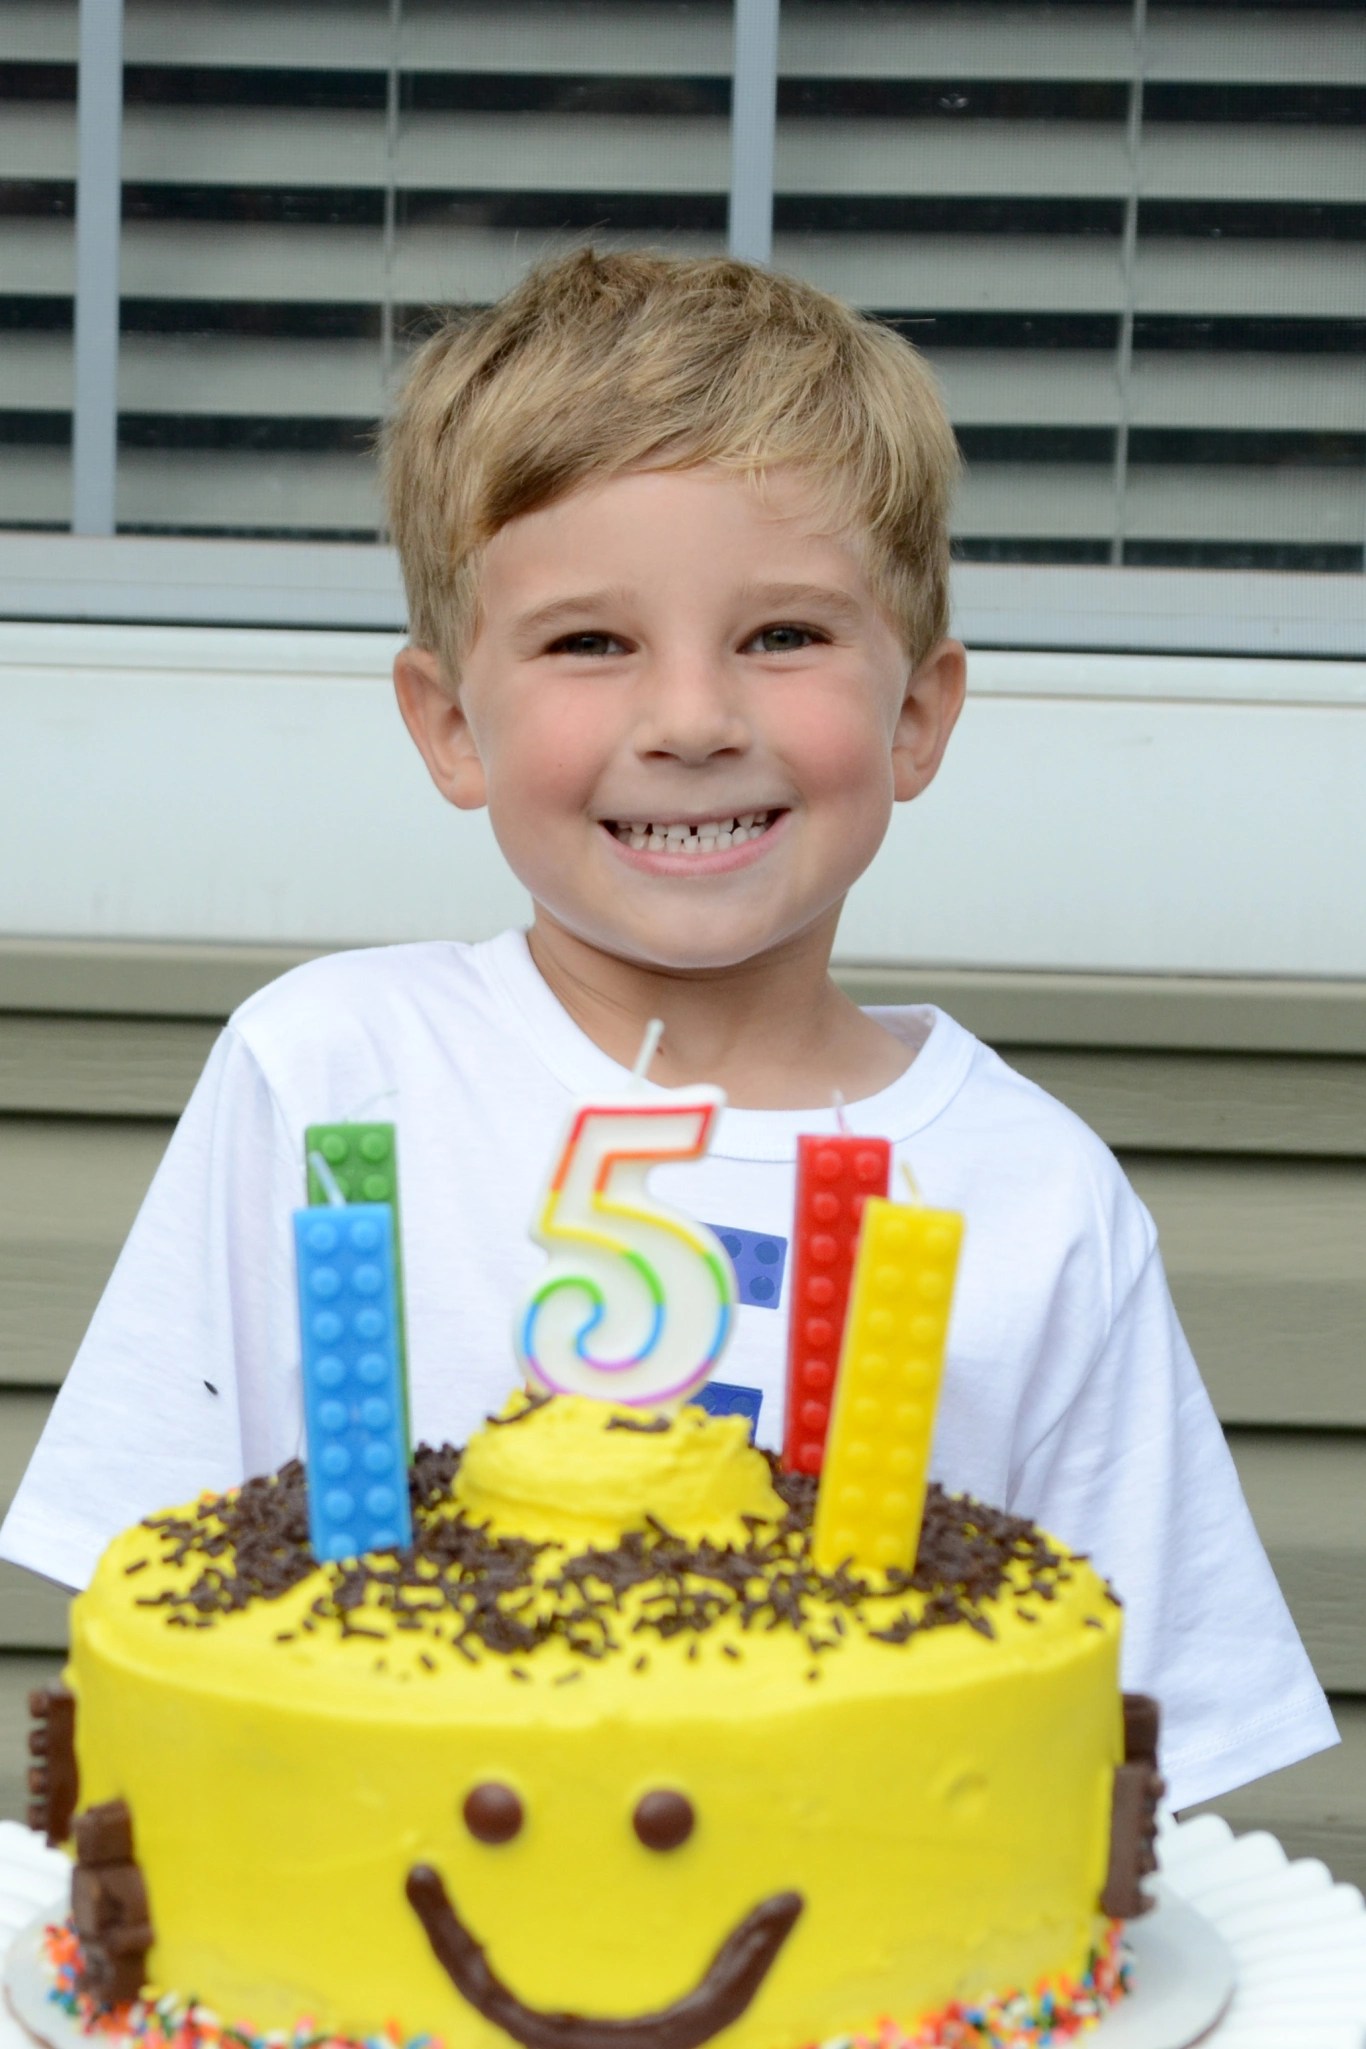
I made this cake on a whim for Henry’s 3rd birthday, and it was such a hit that I’ve made it every year for both of my kids’ birthdays ever since. Not only do my kids look forward to it every year, but our friends and family always comment on it, too! In fact, I got a message from one of my friends today that she was sad she had to miss this year’s party BECAUSE of the cake.
So what makes this cake special? I use one boxed cake mix, one boxed brownie mix, and a few easy swaps and additions that make them taste even better! And then I stack them with homemade buttercream frosting between each layer. The result is a triple decker semi-homemade vanilla chocolate chip cake with a brownie bottom that everyone loves!

Recipe Notes:
Yes, I’m SURE you could make this cake with any vanilla cake mix. But I have a favorite, and I stick to it!
For the brownie layer, I’m not as picky. I’ve used Duncan Hines often, but I’ve also used Ghiradelli and most recently, Aldi brand. The Specially Selected Double Chocolate Premium Brownie Mix with chocolate chips was great in this cake!
I often swap out melted butter for vegetable oil when making cake or brownie mixes. Melted butter will give it a richer flavor, but it also makes it more dense. I’ve made this cake both ways and don’t really have a favorite!
If you don’t want a triple layer cake, I’ve also made this cake with one layer brownie and one layer cake, and then used half the cake batter to make 12 cupcakes.
Cake Ingredients:
1 box Duncan Hines Perfectly Moist French Vanilla Cake mix (or a similar cake mix)
1 box your favorite brownie mix
Eggs (number will depend on mixes)
Milk (amount will depend on mixes)
Vegetable Oil/butter (amount will depend on mixes)
3/4 cup mini semi-sweet chocolate chips (You could use standard size but the mini chips a better distribution of flavor in each bite without being too much. They also don’t sink as easily.)
1 tablespoon flour
Instructions:
Preheat oven according to brownie instructions. Grease the bottoms and sides of a 8-9″ round cake pan.
Prepare brownie mix according to box instructions, BUT use milk (1:1 swap) instead of water. And consider using melted butter (1:1 swap) instead of oil.
Bake according to directions and allow to cool in pan for 15 minutes before removing to a cooling rack.
Adjust oven temperature if needed according to cake mix box. Using two of the same size pans, grease the bottoms and sides to prepare for the cake layers.
Prepare cake mix according to box instructions, BUT use one EXTRA egg, and swap milk for water and melted butter for oil.
In a separate bowl, stir together chocolate chips and 1 Tablespoon of flour just to coat the chips. This helps them not sink in the cake batter.
Stir the chocolate chips into the cake batter.
Divide cake batter between the two cake pans and bake according to cake mix box.
Allow cakes to cool in pans for 15 minutes, then transfer to cooling racks.
Buttercream Frosting Ingredients:
1.5 cups salted butter
4 cups powdered sugar
1 Tablespoon vanilla extract
2 Tablespoons milk (or heavy cream if you have it!)
Note: It usually takes me almost two batches of this frosting to do a crumb coat and then a decorative coat.
Instructions:
Using either a hand or stand mixer, beat the butter until it’s light and fluffy.
Gradually add the powdered sugar, 1/2 cup at a time, first on low and then medium to high speed.
Mix in the vanilla and the milk on low speed. Then beat for 2-3 minutes.
Assembling/Decorating:
Take your cake plate or a round cake board (I bought THIS pack on Amazon years ago and am just starting to run low) and place a dollop of frosting in the center. This will help your cake from sliding around while you’re decorating.
Place the cooled brownie layer on top of the frosting. Then spread a layer of frosting on top. Repeat with the cooled cake layers.
Spread a thin coat of frosting around the entire layered cake. This is called the crumb coat and will make decorating your cake easier since the crumbs are sealed in by that first thin layer of frosting.
Place your crumb coated cake in the refrigerator for at least 1 hour. This helps seal in the moisture, and gives the frosting a slight “crust” that makes it easier to decorate. (I’ll often do the baking and crumb coat one day, and then I make a second batch of frosting and decorate the next day.)
Make a second batch of frosting and decorate as you wish!
Here are a few links to the cake decorating tools I use:
Cake Decorating Kit with turntable and tools
*Links are Amazon affiliate links. I earn a small commission from any sales made through these links at no extra charge to you.
Let me know if you have any questions about this recipe! I’ve found that this cake is always a crowd pleaser, and while I do enjoy baking from scratch, I also love the consistency of knowing this cake comes out great every time. And taking a few shortcuts allows me to spend more time decorating the cake and preparing for the party!
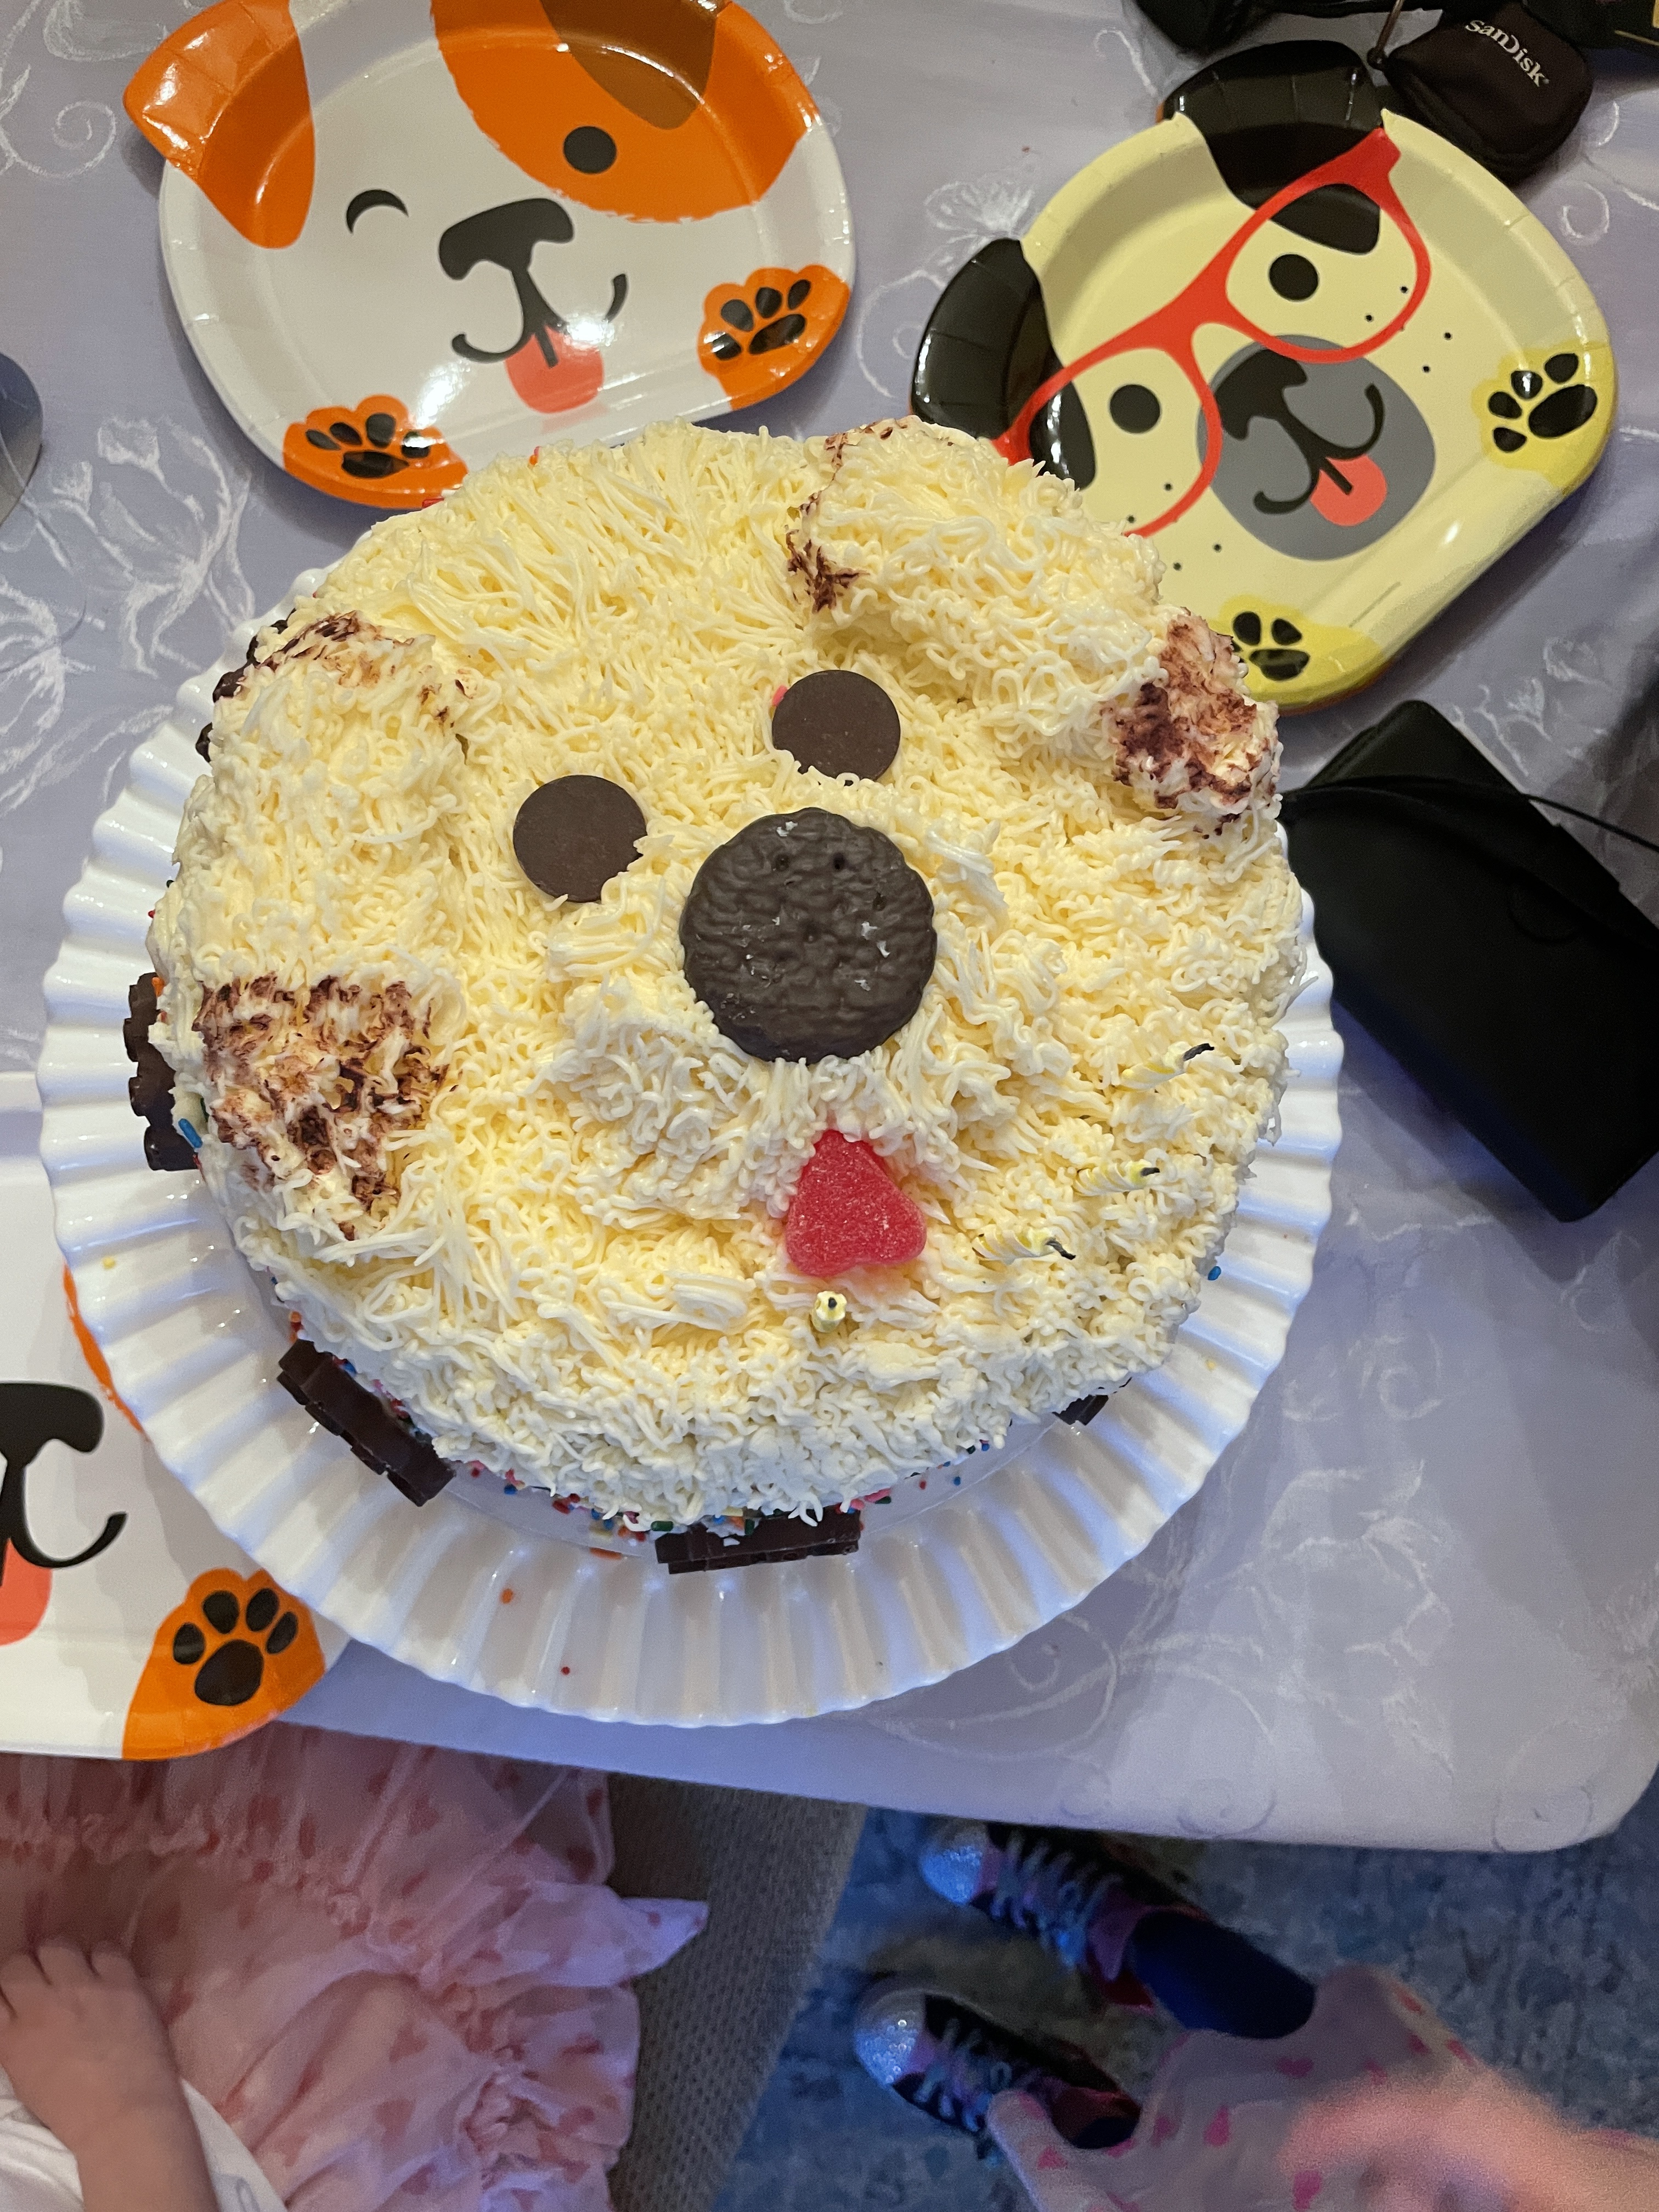
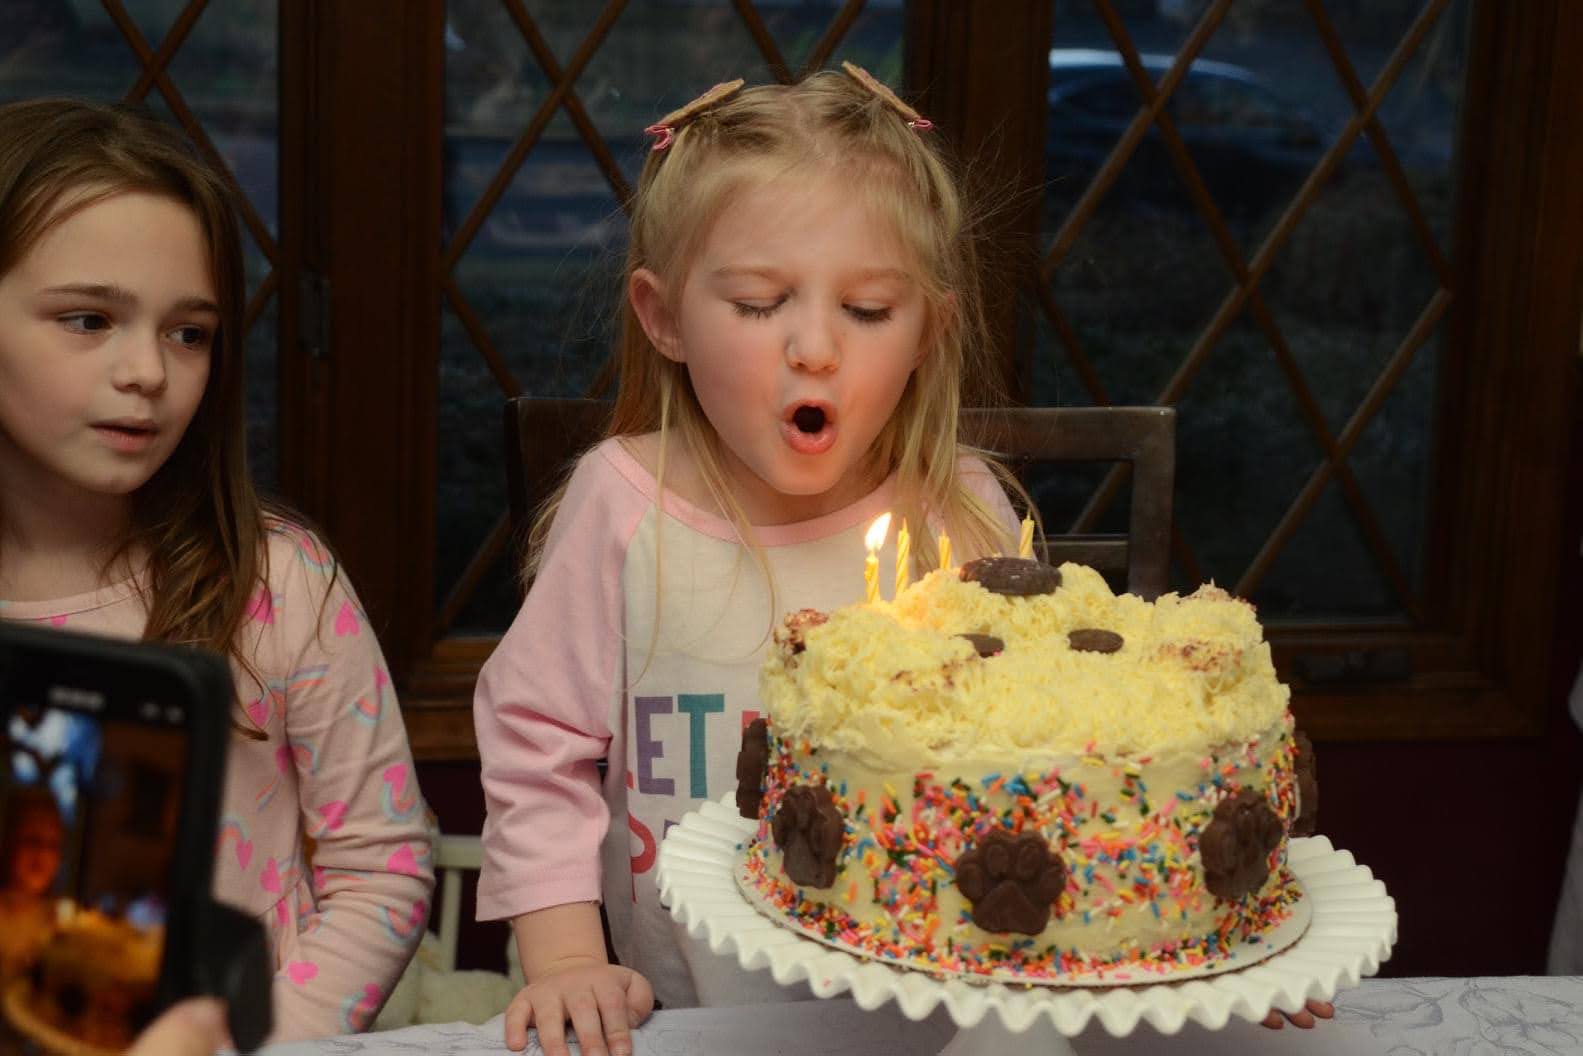
Here’s a collage of photos of birthday cakes that all started with this same recipe: