If you’re been to one of my kids birthday parties, you’ve probably eaten one of these buttery cookie cutter cookies!


When Henry was turning 1, I was looking for a party favor that I thought everyone would enjoy. It was a Mickey theme, and the kids attending were receiving Mickey or Minnie ears, but I really wanted something for all ages. I decided on using cookie cutters to make Mickey-shaped cookies. While I love to bake, cupcakes are more my specialty. And if I’m making cookies, I pretty much always made drop cookies, so I didn’t have a favorite roll-out cookie recipe in mind. I tried several made some tweaks, and what I ended up with has become such a favorite that the tradition has actually been carried through each of their birthdays so far – seven in total so far!
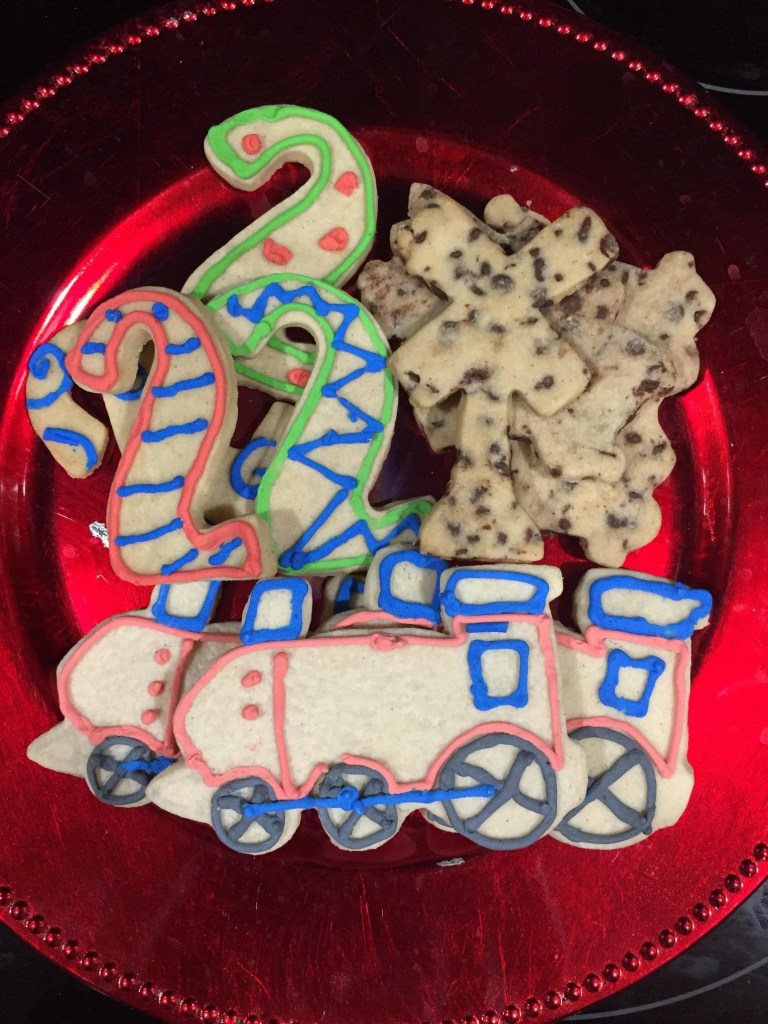
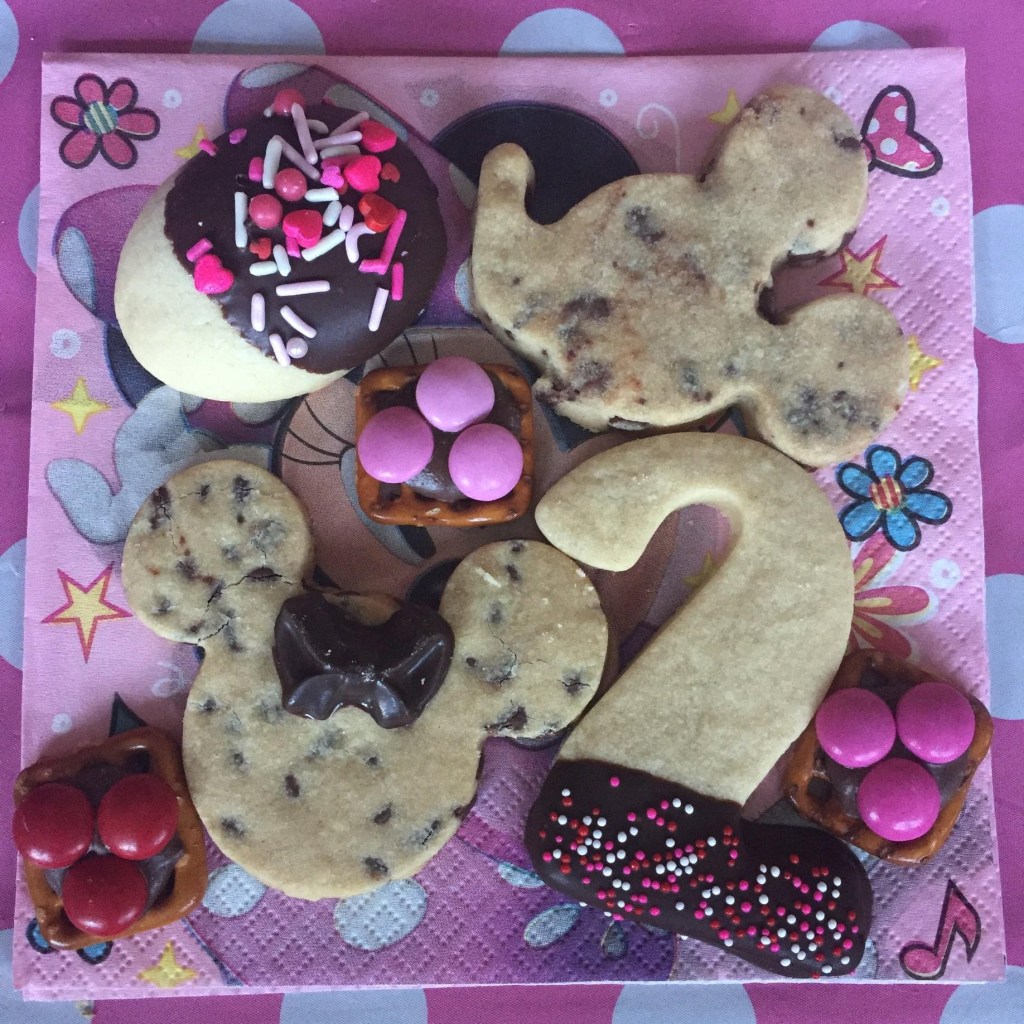
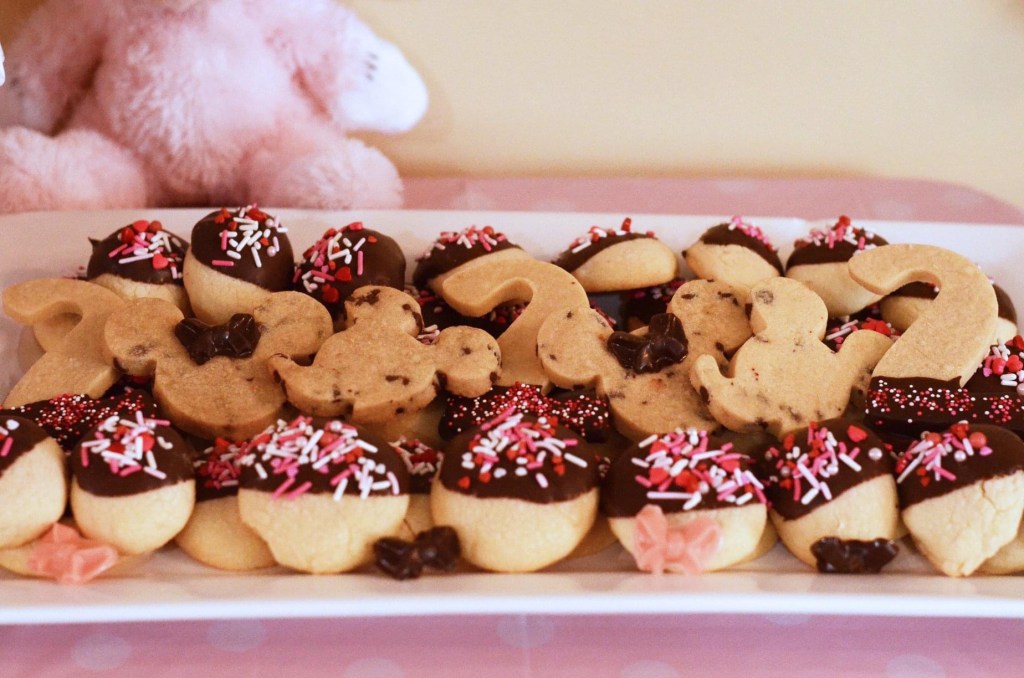
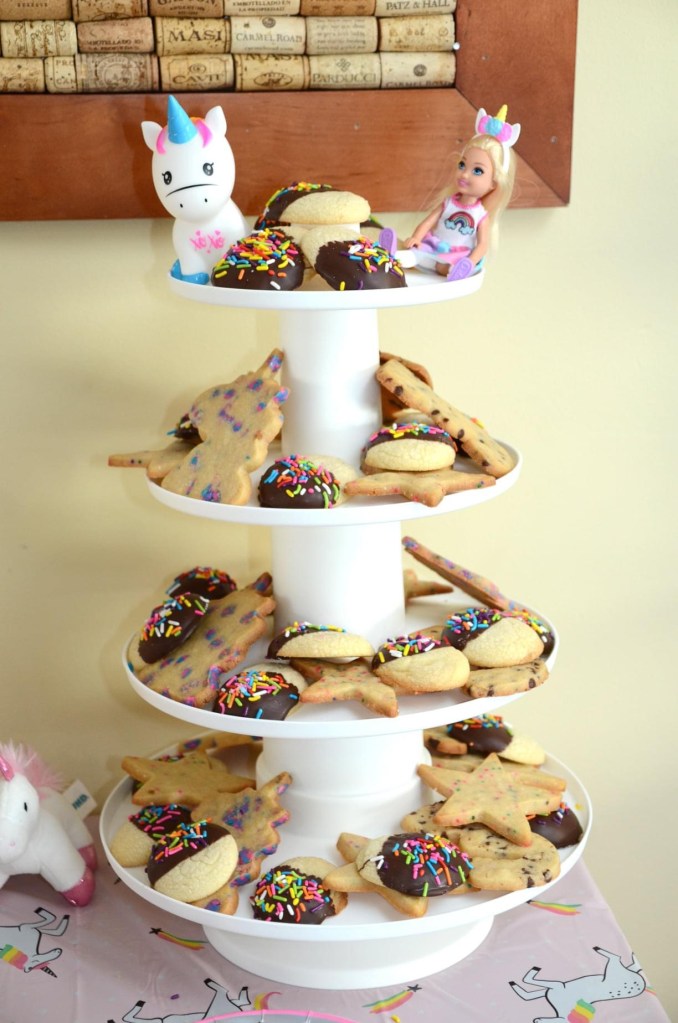
The dough holds its shape really well, so it’s great for cookie cutters. While it puffs up a little bit while baking, it doesn’t spread much at all. The cookies themselves are rich and buttery, soft but with a slight crunch – they’re probably closest to a shortbread. What I love about this recipe is that it’s so easy to make slight variations if you want to make a few different types of cookies. Typically, I pick a few different cookie cutters to go with the party theme, and then I make little tweaks to the recipe to make each shape a bit different. (Obviously, you could also just use different shapes with the same dough, but I think it’s fun to switch it up if I’m making more than one batch anyway.) I’ll make one batch with mini chocolate chips, one with sprinkles mixed in with the dough, one with a bit of almond extract and sanding sugar on top, sometimes I dip a shape in melted chocolate and add sprinkles on top. You get the idea – one basic recipe, lots of possibilities!
Below is the basic recipe I use:
Ingredients:
- 1 cup salted butter, room temperature
- 1/2 cup brown sugar
- 1/3 cup granulated sugar
- 1 large egg yolk
- 1 Tablespoon vanilla extract (if using almond extract too, you’ll do 1-1/2 teaspoons vanilla and 1 teaspoon almond)
- 2-1/2 cups all-purpose flour
- Optional: 1 cup mini chocolate chips or 3/4 cup sprinkles in the dough, royal icing, melted chocolate or sanding sugar on top
Instructions:
- Using an electric mixer, beat the butter and sugars together until light and fluffy, about 3 or 4 minutes.
- Scrape down the bowl and add the egg yolk and vanilla (and almond if using). Beat to incorporate.
- Turn the mixer down the low and slowly add the flour, about 1/2 cup at a time. Mix just until it’s combined. Do not overmix.
- If you’re adding in chocolate chips or sprinkles, mix them in by hand using a large spoon or your hands. Again, make sure they’re evenly distributed, but don’t handle more than needed.
- Divide the dough in half. Take a piece of parchment paper and place half the dough on top. Cover with another piece of parchment paper, and use a roller to roll the portion to about 1/4″ thickness. Repeat with the other portion. Then stack the rolled out dough and parchment paper on top of a baking sheet. Refrigerate for at least 30 minutes. (If I have the time to do this over 2 days, I prepare the dough one night, refrigerate overnight and then cut and bake the next day.)
- When ready to bake, preheat the oven to 350 degrees F. Line baking sheets with parchment paper or silicone mats.
- Remove one of the dough portions from the refrigerator and use cookie cutters to cut shapes. (If the dough is TOO cold/crumbly, just let it sit out for about 10 minutes and roll and bit with the parchment paper. After a few cookies, you’ll realize the best consistency for your cutter.)
- Transfer cookies one at a time to your prepared baking sheets. Re-roll remaining dough and continue cutting until you’ve used all of the dough.
- Optional: If you’re using sanding sugar, you’ll want to sprinkle that on top of your dough shapes before placing in the oven.
- Bake for approximately 10-12 minutes, rotating the baking sheets halfway. Cookies are finished when they’re a light golden brown at the edges. Do not let them get too dark, as they’ll continue to bake on the sheet for a few minutes out of the oven.
- Place the baking sheets on a wire rack and allow to rest for about 5 minutes. Then transfer from the baking sheet to a cooling rack to cool completely.
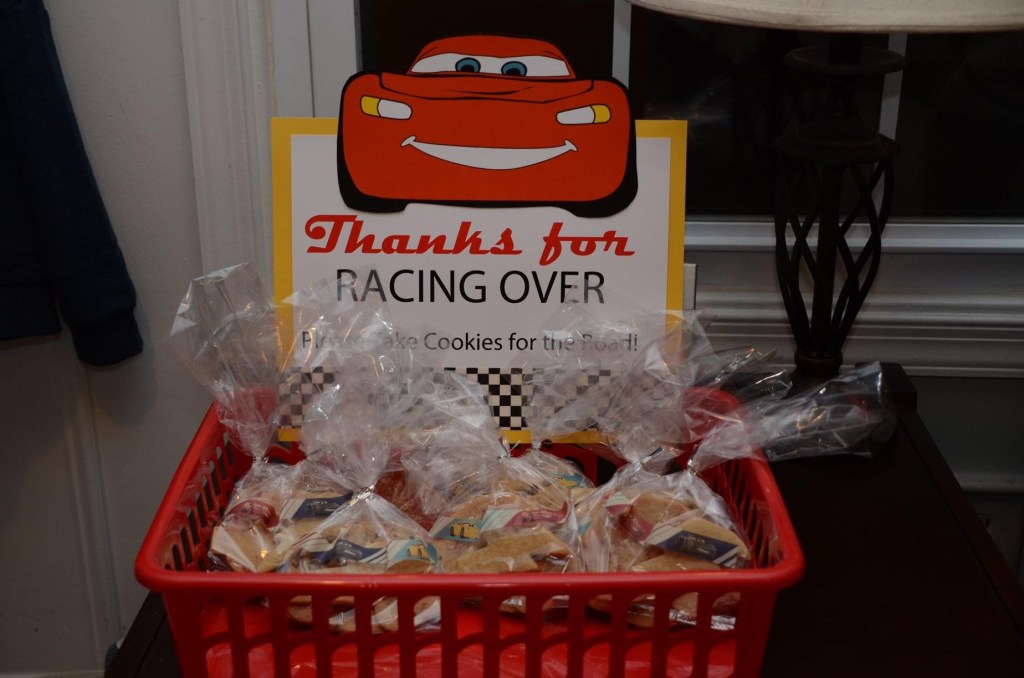
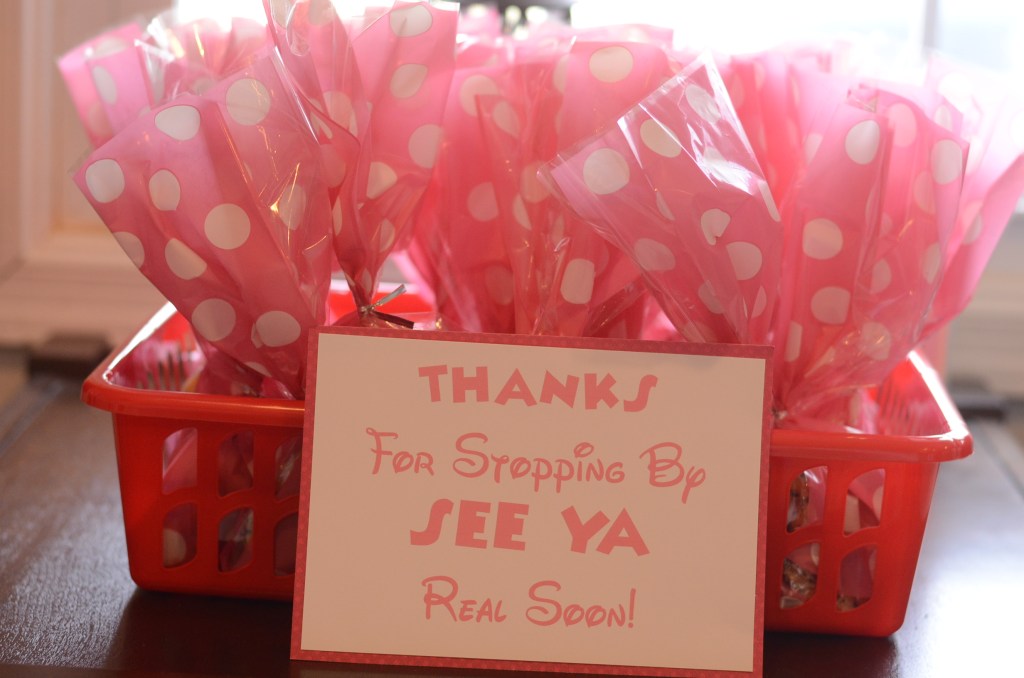
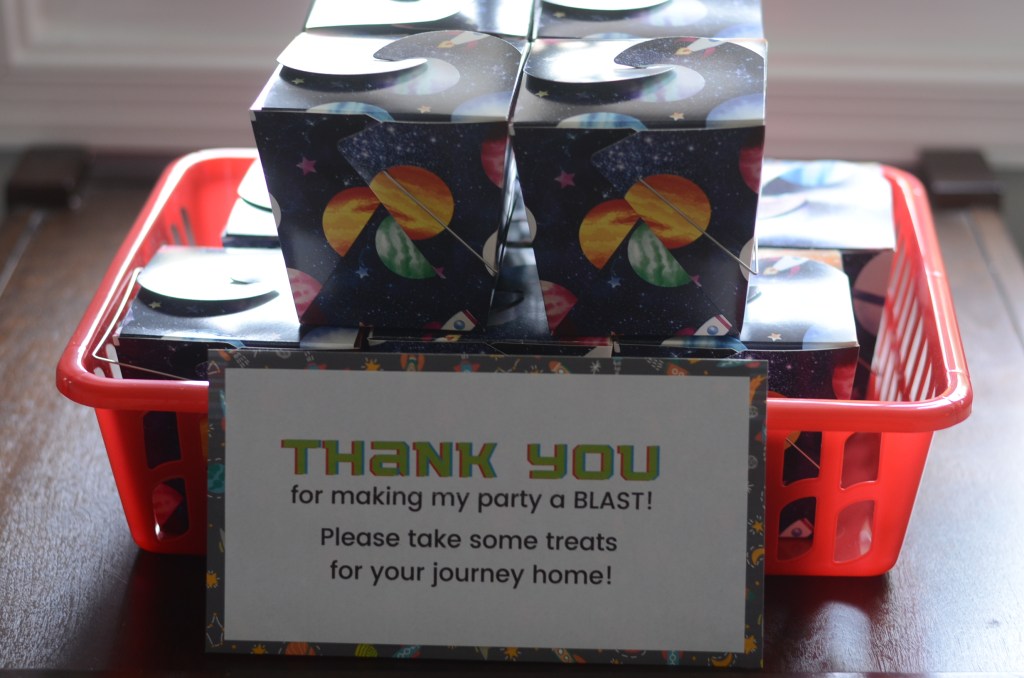
These cookies can be stored in air-tight containers for several weeks and still taste great! That’s another reason why they work so well for party favors. You can make them a few days prior to the party, store them in a container, and then the day before the party, put them in cute containers or bags.

Tip: Try Amazon or stores like Jo-Ann or Michaels for a variety of cookie cutters. You can typically find them pretty inexpensively, and I’m always happy when I find a shape that I can reuse for other themes. For example, my son is 1-1/2 years older than my daughter. So I always get him the number shape for whatever age he’s turning, and then I reuse it for her birthday. He had a Mickey 1st birthday, then I reused that shape and added a chocolate bow for her Minnie 2nd birthday. He had a space-themed 4th birthday, and I got a star cookie cutter. I reused it for her unicorn 3rd birthday.

3 thoughts on “Easy Buttery Roll-Out Cookie Cutter Cookies”